
Zone-Based Organization: Designing Every Room Around How You Actually Use It
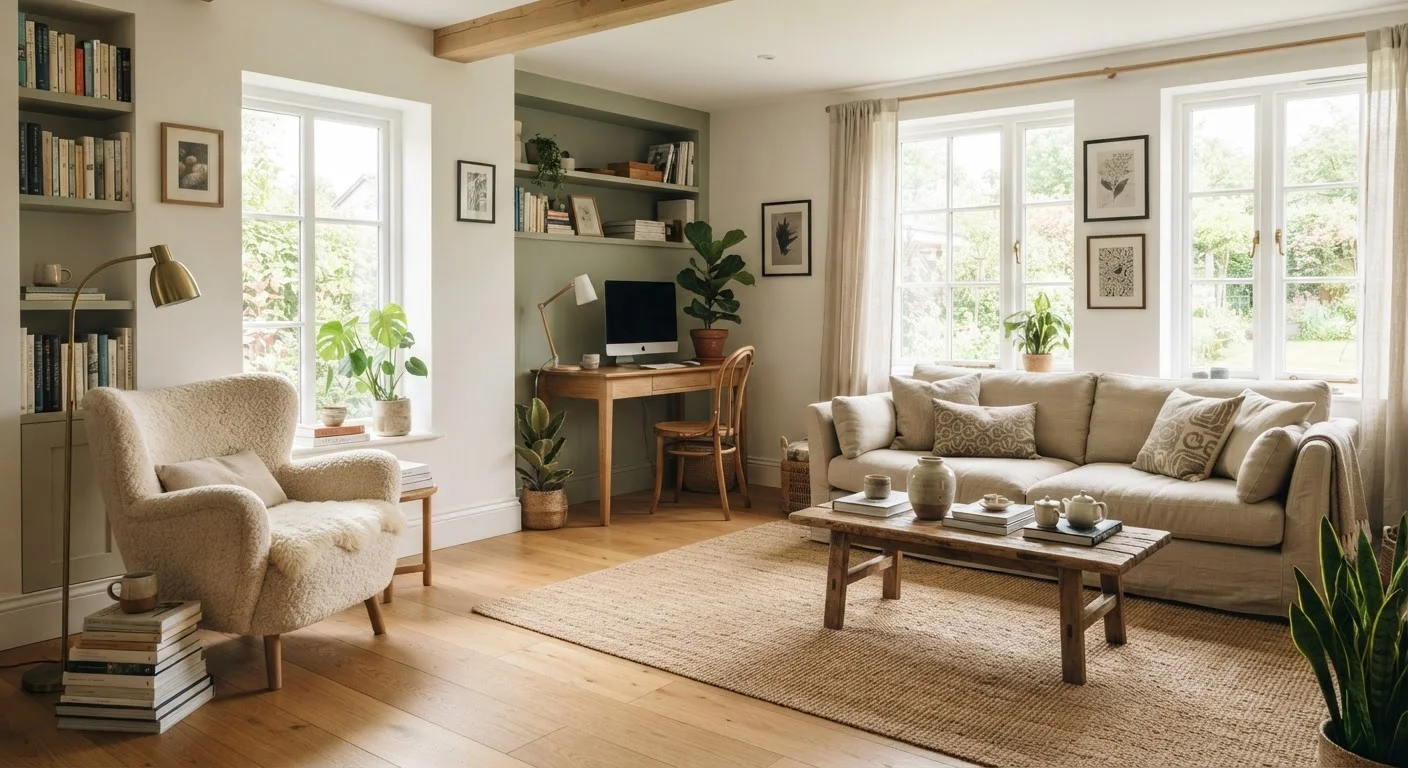
Photo credit: SearchLynk.net | Search Made Easier
In this article
Zone-based organization maps your space to your habits. Here's how to divide any room into functional areas that reduce daily friction and keep things tidy longer.
Key Takeaways
- Zone-based organization aligns your room's layout with how you actually behave, not an idealized version of you.
- Mapping daily activities before moving furniture prevents costly trial-and-error rearrangements.
- Each zone needs its own dedicated storage so items always return to the same place.
- Zones reduce clutter because everything has a logical home tied to where it gets used.
- The method works in any room size, from studio apartments to family living rooms.
What Zone-Based Organization Actually Means
Zone-based organization is a spatial planning approach that divides a room into distinct activity areas - each designed around a specific, recurring task or habit. Instead of arranging furniture for aesthetics alone, you arrange it to reflect real behavior. A living room might have a reading zone, a media zone, and a conversation area. A kitchen might separate food prep, coffee-making, and bill-sorting into three distinct corners.
The underlying principle is simple: when the items you need for a task live exactly where you perform that task, you're less likely to leave things out, forget where they belong, or create clutter elsewhere. For a deeper look at how friction shapes your home habits, see a room-by-room home organization audit that helps you identify where your current layout is working against you.
Zone-based design is also grounded in a more forgiving philosophy: it accommodates how people actually live, rather than demanding perfect habits to maintain order.
Before You Start: Observe Your Habits First
The most common mistake in home organization is rearranging before reflecting. Spend two or three days simply noticing where you naturally drop things, where you tend to work or relax, and which areas collect the most clutter. These patterns reveal your real zones - not the ones you wish you had.
What you will need
Ask yourself: What do I do in this room daily? Weekly? What items do I always have to retrieve from another room? Where do things pile up, and why? If you share your home, include others in this observation - their habits are data too. For households with different organization styles, organizing around different household habits offers practical strategies for finding common ground.
How to Map and Build Your Zones
Once you understand how a room is actually used, you're ready to define and build its zones. Follow the steps below to move from observation to a functioning layout.
List Every Activity That Happens in the Room
Write down all the tasks - big and small - that regularly occur in the space. In a living room, this might include watching TV, reading, playing with kids, folding laundry, working on a laptop, or video calls. Be honest and inclusive; even occasional activities deserve a zone if they happen regularly enough to create clutter.
Group Activities Into Logical Zones
Cluster your list into natural groupings based on what activities share space, tools, or timing. Watching TV and gaming might share one zone; reading and journaling might share another. Aim for no more than four or five zones per room to avoid over-segmentation - too many zones defeats the purpose.
Assign Physical Space to Each Zone
Match each activity cluster to a physical area of the room, starting with the activities that are hardest to relocate (a TV wall, a window seat, a door). Sketch a rough floor plan if it helps. Consider traffic flow - zones you pass through frequently should not be blocked by furniture.
Dedicate Storage to Each Zone
Every zone needs a home for its items. A media zone might use a cabinet under the TV. A reading zone might use a small side table with a drawer and a basket for books. Assign storage that lives within or immediately adjacent to each zone - this is the single most important step for keeping zones functional.
Test the Layout and Adjust
Live with your new zone layout for one to two weeks before making permanent changes. Notice whether items are actually being returned to their zones, whether any zone feels too cramped or awkward, and whether new clutter hotspots are emerging. Adjust boundaries or storage placement based on what you observe.
Keep in mind that zones don't require physical dividers. A rug, a shift in lighting, or a change in furniture orientation can signal the boundary between two areas just as effectively as a wall. In smaller homes, this subtlety is essential - see storage strategies for apartments and compact homes for ways to layer zones without losing square footage.
Start With One Room
Applying zone-based organization to your entire home at once is overwhelming and rarely sticks. Choose the room that causes the most daily frustration - often the living room, kitchen, or a shared entryway - and build one successful zone system before expanding. A working model in one room builds confidence and reveals what adjustments the rest of your home might need.
Making Zones Stick Long-Term
Zones only work if they're maintained, and maintenance only happens when the system is easy enough to use consistently. A few principles help zones stay functional over time.
Every zone needs its own storage. Items used in the reading zone - books, reading glasses, a throw blanket - should be stored within arm's reach of that zone. If someone has to cross the room to put something away, they probably won't.
Label or signal zones visibly. Baskets, trays, and containers act as quiet signals that reinforce where things belong. For children's rooms especially, visual cues matter enormously - building organization systems kids can actually maintain covers how to make zones intuitive for younger users.
Reassess seasonally. Habits change. A homework zone may shift when school schedules change, or a home office zone may expand when work demands increase. Treat your zones as a living system, not a one-time project. For a comprehensive framework to keep your whole home running smoothly, this end-to-end home organization guide covers long-term maintenance principles in detail.

Author
Home & Garden Editorial Team
Home & Garden Editorial Team is the collective byline for our editorial team and contributor network. Articles published under this byline or an editorial pen name are researched, written, and reviewed according to our editorial standards for clarity, consistency, and independence before publication.
View all articles →