
Caulking a Bathtub Surround the Right Way
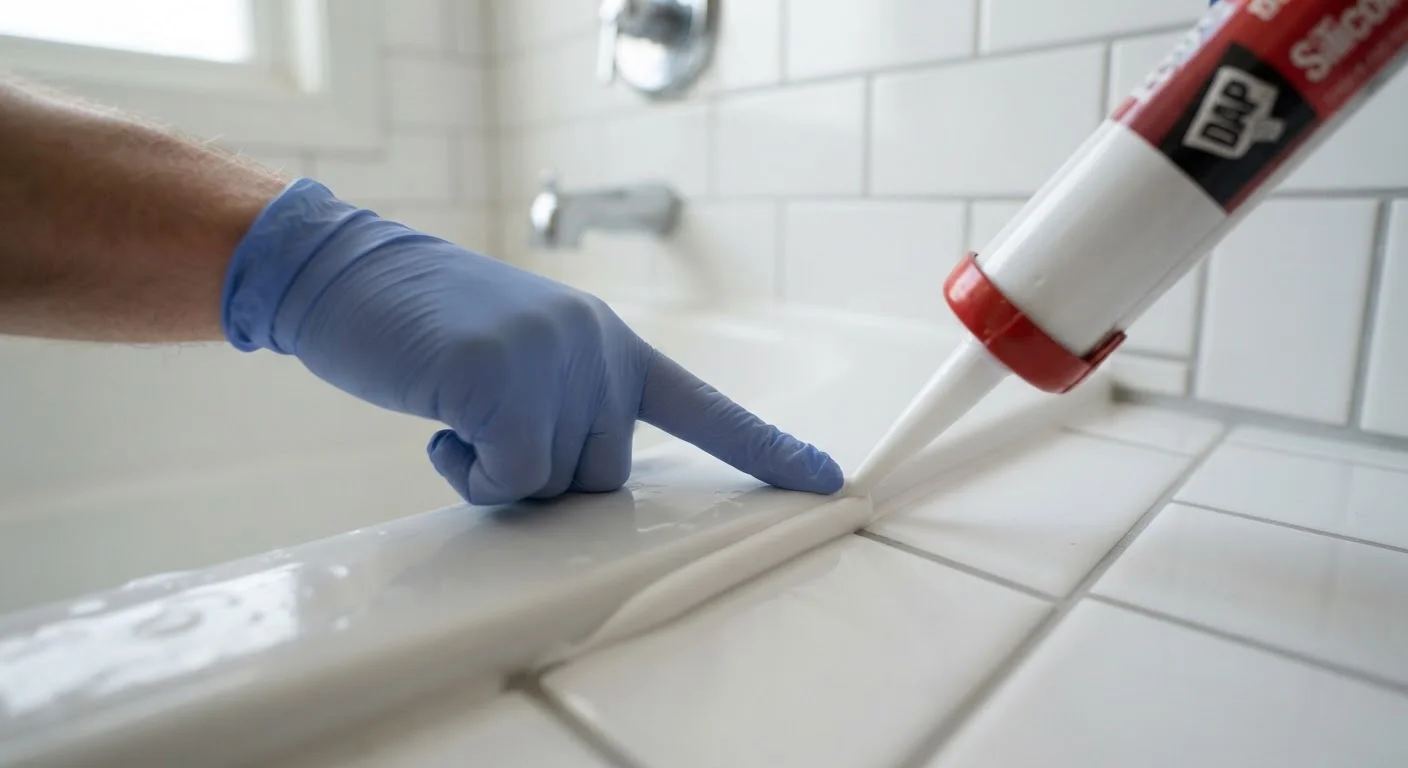
Photo credit: SearchLynk.net | Search Made Easier
In this article
Step-by-step guidance on removing old caulk, preparing the surface, and applying a clean, watertight bead around a tub.
Key Takeaways
- Complete removal of old caulk is essential - new caulk will not bond properly over existing residue.
- The surface must be bone dry before applying fresh caulk; even slight moisture causes adhesion failure.
- Silicone caulk is the preferred choice for tub surrounds due to its superior water and mold resistance.
- Filling the tub with water before caulking prevents the bead from cracking when the tub flexes under weight.
- Smoothing the bead immediately and removing tape before the caulk skins over produces the cleanest finish.
Why Recaulking Matters - and When to Do It
Caulk at the joint between a bathtub and its tile surround serves a critical purpose: it seals the gap that opens and closes slightly every time you step in and out. Unlike grout - which is rigid and designed for tile-to-tile joints - caulk is flexible, allowing it to move with the tub without cracking. When that seal deteriorates, water seeps behind the tile, saturating the substrate and eventually causing mold, rot, and structural damage.
Inspect your tub caulk regularly. Signs that recaulking is overdue include visible cracks, gaps, discoloration, persistent mold that won't scrub away, or caulk that has pulled away from the tile or tub surface. If you're working through a broader renovation, see the bathroom remodel planning guide for advice on sequencing this task alongside other bathroom work.
Check the Joint Width Before Buying
Joints wider than about 6 mm may need backer rod - a foam cord pressed into the gap - before caulking. This gives the caulk a backing to adhere to and prevents it from sinking too deep into the gap, which can compromise the seal. Backer rod is available at most hardware stores in various diameters.
Tools and Materials You'll Need
Gather everything before you start so the process isn't interrupted mid-task.
Caulk removal tool or utility knife
Cuts and lifts old caulk from the joint without damaging the tub or tile surface.
Plastic scraper
Removes caulk residue from tub surfaces without scratching acrylic or fiberglass.
Caulk remover gel
Softens stubborn silicone caulk to make mechanical removal easier.
Mold-killing cleaner or diluted bleach
Disinfects the joint area to eliminate mold spores before sealing.
Caulk gun
Dispenses caulk from a tube at a controlled, consistent rate.
Tub-and-tile caulk (silicone or siliconized latex)
Creates a waterproof, flexible seal between the tub and tile surround.
Painter's tape
Masks the edges of the joint to produce clean, straight caulk lines.
Caulk finishing tool or dampened fingertip
Smooths and presses the caulk bead into the joint for a professional finish.
Choosing the right caulk type is worth a moment's attention. 100% silicone caulk offers the best moisture resistance and longevity in wet areas. Siliconized latex (sometimes labeled "kitchen and bath") is easier to tool and clean up with water, making it a reasonable compromise for less-experienced DIYers. Avoid standard paintable latex caulk entirely - it will fail quickly in a wet environment. Whatever product you choose, confirm the label states it is mold- and mildew-resistant and rated for wet or submerged areas.
The substrate behind your tile also influences long-term results. If your surround was installed with standard drywall rather than a moisture-resistant backer, even perfect caulking provides limited protection against hidden water intrusion. The article Tile Backer Board vs. Drywall in Wet Areas explains what each substrate handles and where vulnerabilities lie.
Remove all old caulk
Use a caulk removal tool or a utility knife held at a shallow angle to cut through the existing caulk along both edges of the joint - where it contacts the tile and where it contacts the tub. Work slowly to avoid scratching the tub surface. Once scored, pull the caulk away in strips. A plastic scraper is useful for clearing residue without gouging acrylic or fiberglass tubs. For stubborn silicone, apply a dedicated caulk remover gel, allow the dwell time specified on the label, then scrape again.
Clean and disinfect the joint
Spray the bare joint thoroughly with a diluted bleach solution (one part household bleach to ten parts water) or a bathroom mold-killing cleaner. Allow it to sit for several minutes, then scrub with an old toothbrush to remove any mold spores embedded in the surface. Rinse well with clean water. This step is non-negotiable - mold left behind will grow through new caulk within weeks.
Allow the surface to dry completely
This is the step most people skip - and the most common reason caulk fails prematurely. After cleaning, let the tub surround dry for a minimum of 24 hours with good air circulation. If the surface feels even slightly damp to the touch, wait longer. You can use a fan directed at the joint to speed drying. Do not apply caulk to a wet or humid surface.
Fill the tub with water
Before applying any caulk, fill the bathtub to its normal bathing level. This pre-loads the tub, mimicking the weight it carries in use. Tubs - especially acrylic and fiberglass models - flex downward slightly under weight. If you caulk over an empty tub, the bead will be under tension and prone to cracking the first time the tub is used. Leave the water in until the caulk has fully cured.
Apply painter's tape to both sides of the joint
Run strips of painter's tape along the tile and along the tub, leaving the joint gap exposed. Aim for parallel lines about 3-4 mm from the joint edge on each side. Press the tape edges firmly to prevent caulk from bleeding underneath. Tape creates crisp, straight lines that are nearly impossible to achieve freehand and make the cleanup step much easier.
Cut the caulk tube nozzle and load the gun
Cut the nozzle at a 45-degree angle, making the opening roughly the width of your joint - typically 4-6 mm. Start with a smaller cut; you can always trim more if flow is too slow. Pierce the inner foil seal with the puncture tool on the caulk gun or a long nail. Load the tube into the caulk gun and do a brief test squeeze onto paper to confirm consistent flow before approaching the tub.
Apply the caulk bead in one continuous pass
Hold the gun at a consistent 45-degree angle, with the nozzle pointing into the joint. Apply steady, even pressure as you draw the gun smoothly along the joint in one uninterrupted motion - from one corner to the other. Try to maintain an even bead without stopping. If you must stop, overlap slightly at the restart point. Apply enough caulk to fill the joint without excessive buildup.
Tool and smooth the bead
Wet your fingertip with water (for latex-based caulk) or dip it lightly in mineral spirits (for silicone), then draw it along the bead in one smooth stroke to press the caulk into the joint and create a concave, finished profile. Alternatively, a caulk finishing tool produces consistent results. Work quickly - silicone in particular begins to skin over within minutes in warm conditions.
Remove the tape and allow full cure
Pull the painter's tape away immediately while the caulk is still wet, pulling at a 45-degree angle back over itself to lift cleanly without disturbing the fresh bead. Allow the caulk to cure undisturbed for the full time stated on the product label - typically 24 hours for latex-based products and up to 48-72 hours for silicone - before exposing the joint to water. Drain the tub only after the caulk has fully cured.
Troubleshooting and Long-Term Maintenance
Even carefully applied caulk can present a few common issues. If the bead shrinks noticeably as it cures, a second thin pass - applied after the first is fully cured - can fill the gap. If the caulk wrinkles or bubbles, excess moisture was likely trapped beneath; remove it and start again on a fully dry surface.
To maximize caulk lifespan, keep the joint dry between uses by improving ventilation (run the exhaust fan during and 15 minutes after every shower), and wipe standing water from the seam after bathing. With proper preparation and maintenance, a quality silicone bead can last five to ten years before needing replacement. When it does eventually need attention, the removal process described above is your starting point - resist the temptation to caulk over existing caulk, which almost always leads to premature failure.
Never Caulk Over Existing Caulk
Applying fresh caulk over old caulk almost always leads to adhesion failure. The new caulk bonds to the surface of the old bead rather than to the tub and tile directly, resulting in a seal that peels away within months. Complete removal, no matter how tedious, is the only reliable foundation for a lasting result.

Author
Home & Garden Editorial Team
Home & Garden Editorial Team is the collective byline for our editorial team and contributor network. Articles published under this byline or an editorial pen name are researched, written, and reviewed according to our editorial standards for clarity, consistency, and independence before publication.
View all articles →