
Before You Renovate: A Room-by-Room Condition Assessment
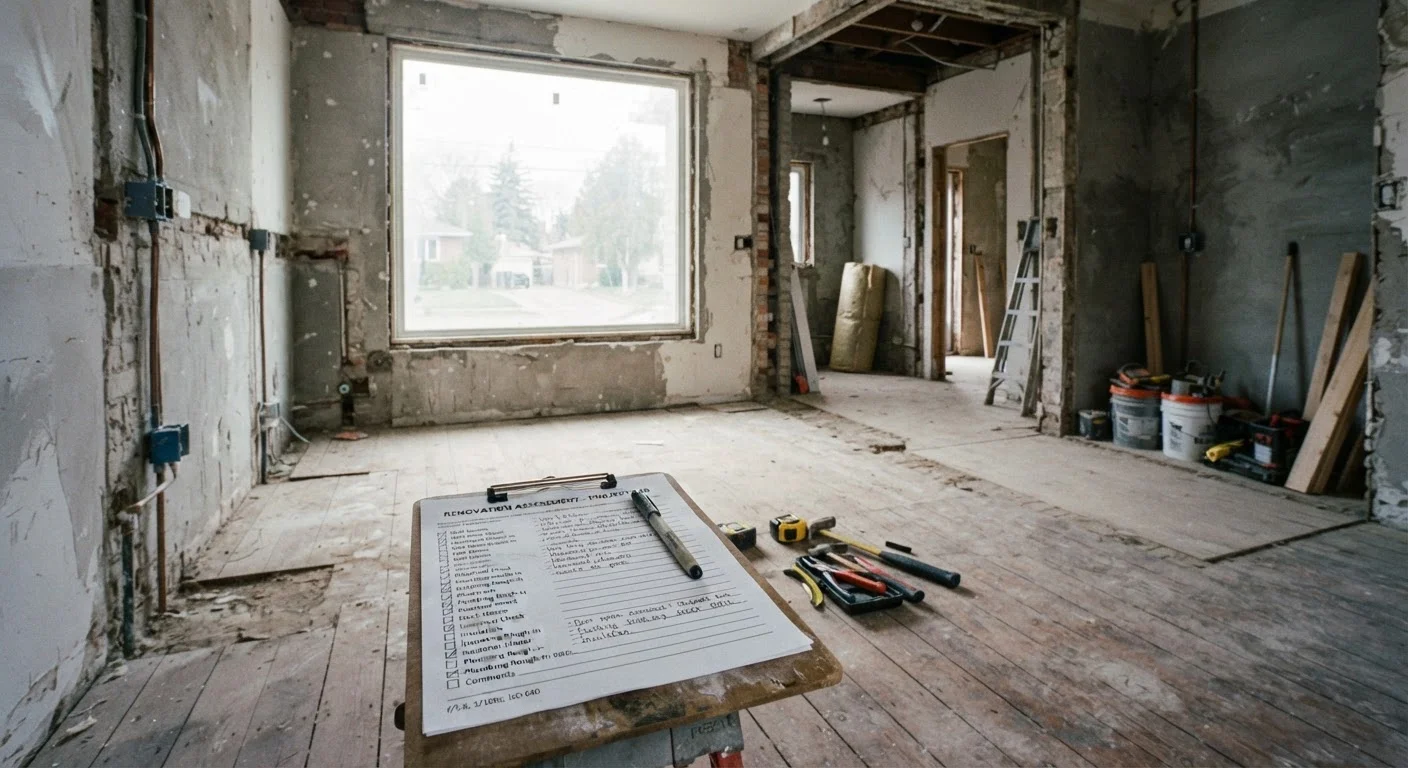
Photo credit: SearchLynk.net | Search Made Easier
In this article
Use this structured checklist to document your home's current condition and catch hidden issues before renovation work begins.
Key Takeaways
- A pre-renovation condition assessment helps you document existing damage before contractors arrive.
- Many costly renovation surprises - moisture, rot, electrical issues - are detectable before work begins.
- Documenting current conditions protects you legally if disputes arise with contractors.
- Some findings will require a licensed professional to evaluate before work can safely proceed.
- This checklist covers structural, mechanical, and finish conditions across every major room.
Why a Condition Assessment Matters Before Any Work Starts
Most renovation regrets share a common origin: work began before anyone truly understood what they were working with. A condition assessment is a structured walk-through of your home that documents existing problems, materials, and systems before a single wall is opened or a contractor is hired. It is not a substitute for a professional home inspection, but it gives you a clear-eyed baseline and significantly sharpens the conversations you'll have with tradespeople.
Think of it this way: if you don't know the ceiling shows water staining before a roofer visits, you can't tell whether that stain is new damage or a decades-old resolved issue. Documentation protects you. It also helps you prioritize - distinguishing cosmetic fixes from structural concerns that must be addressed first.
Before diving into the checklist, it helps to understand basic construction terminology. Our renovation glossary explains terms like rough-in, subfloor, and egress so you can communicate accurately with contractors. Once your assessment is complete, review our guidance on permits and inspections - many conditions you find may trigger permit requirements before work is lawful.
Know When to Stop and Call a Professional
This checklist is an observational tool, not a diagnostic one. If you encounter suspected asbestos-containing materials (common in homes built before 1980, including certain floor tiles, pipe insulation, and popcorn ceilings), knob-and-tube wiring, foundation cracks wider than a quarter inch, or any gas odor - do not proceed further on your own. These conditions require licensed professional assessment, and disturbing them without proper precautions can create serious safety and legal liability.
This checklist is designed to help homeowners observe and document. It is not a substitute for evaluation by a licensed structural engineer, electrician, plumber, or other qualified professional. If your assessment reveals potential hazards - such as knob-and-tube wiring, signs of foundation movement, or suspected asbestos-containing materials - stop and consult a licensed professional before proceeding.
Tools You'll Need for the Walk-Through
Gather your tools before you begin so you can move efficiently from room to room without backtracking. The goal is to make notes and capture photographic evidence - not to repair anything yet.
Plug-in outlet tester
Quickly identifies wiring faults in electrical outlets without requiring any electrical knowledge.
Flashlight or headlamp
Illuminates dark corners in basements, attics, and under-sink cabinets where problems commonly hide.
Smartphone with camera
Captures timestamped photographic documentation of every condition you observe.
Notepad or inspection app
Records room-by-room notes in an organized format you can share with contractors or professionals.
Binoculars
Allows safe ground-level assessment of roof condition without climbing onto the roof.
Moisture meter
Detects elevated moisture levels in wood and drywall that aren't visually obvious, helpful near kitchens and bathrooms.
The Room-by-Room Checklist
Work through each room systematically. Use a separate sheet or note in your phone for each space, and photograph anything that concerns you - include a reference object for scale when relevant. Flag items you cannot assess yourself for professional review.
All Rooms - Universal Checks
Kitchen
Bathrooms
Basement and Crawl Space
Attic
Exterior
Document Before Any Contractor Visits
Complete your condition assessment and take timestamped photos before the first contractor sets foot in your home. Once professionals begin measuring, marking, or moving materials, your pre-existing baseline becomes harder to establish. Dated documentation also protects you if a contractor claims damage they caused was pre-existing - or if you need to demonstrate to an insurance adjuster what conditions looked like before work began.
After completing this assessment, you'll have a clear picture of what you're working with. Use your findings to have more informed conversations - our article on questions to ask before hiring a contractor will help you turn your documented conditions into specific, verifiable questions for any tradesperson you consider hiring.
What to Do With Your Findings
Once you've completed the walk-through, sort your notes into three buckets: items that require a licensed professional before work begins, items to disclose and discuss with contractors when bidding, and cosmetic issues that can be addressed during regular renovation scope.
Don't assume a contractor will catch everything - and don't assume that what they propose addresses the underlying cause rather than just the symptom. For example, a contractor quoting drywall replacement may not have looked for the moisture source behind the wall. Your assessment notes give you the leverage to ask the right questions.
It's also worth distinguishing a condition assessment from a home organization audit. If you're evaluating how a room functions rather than its physical condition, the full home organization audit is a complementary exercise worth doing after structural issues are resolved.
Finally, keep a copy of your assessment notes and photos dated and stored somewhere accessible - cloud storage or a simple folder on your phone works well. If a dispute arises with a contractor over pre-existing damage versus work-related damage, this documentation is invaluable. And before any work begins, revisit common renovation myths to ensure your expectations about timelines, costs, and DIY savings are grounded in reality.

Author
Home & Garden Editorial Team
Home & Garden Editorial Team is the collective byline for our editorial team and contributor network. Articles published under this byline or an editorial pen name are researched, written, and reviewed according to our editorial standards for clarity, consistency, and independence before publication.
View all articles →