
Composting at Home: Turning Kitchen Scraps Into Garden Gold
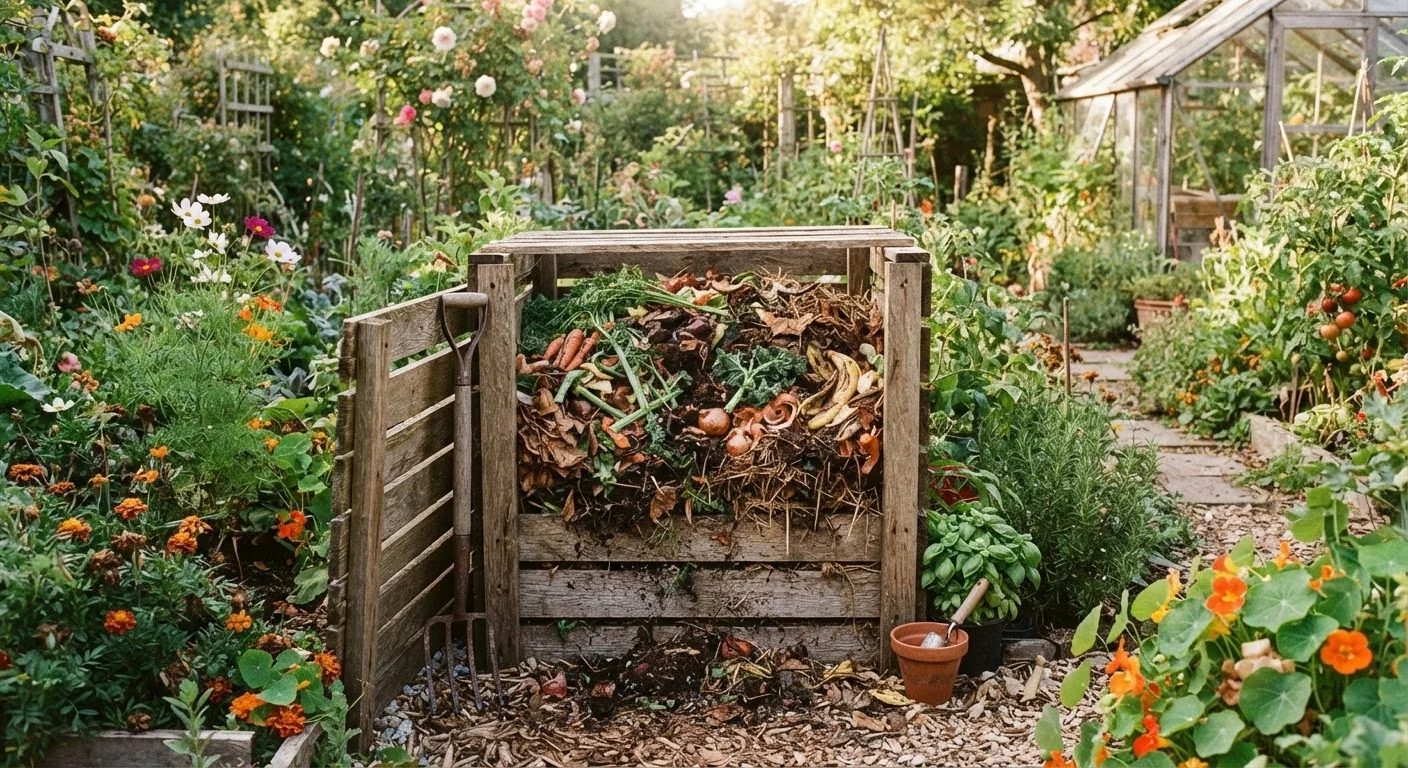
Photo credit: SearchLynk.net | Search Made Easier
Learn how composting works, what materials to use, and how to build a simple system that benefits your soil over time.
Key Takeaways
- Composting requires balancing carbon-rich "brown" materials with nitrogen-rich "green" materials.
- A working compost pile needs moisture, airflow, and regular turning to break down efficiently.
- Finished compost improves soil structure, drainage, and nutrient availability for plants.
- Most kitchen and garden waste can be composted; meat, dairy, and oily foods should be avoided.
- Even small apartments can benefit from low-odor countertop or worm composting systems.
Why Composting Is Worth the Effort
Composting is one of the most practical habits a home gardener can develop. Rather than sending kitchen scraps to a landfill, you redirect that organic matter into a process that rebuilds soil health season after season. Finished compost - often called "garden gold" - is not a fertilizer in the commercial sense; it works more slowly and broadly, improving soil structure, feeding soil microbes, and gradually releasing nutrients that plants can access.
Understanding your soil is the foundation of any successful garden. Our guide to reading your soil before planting explains how to assess what you're working with - and compost is one of the most versatile amendments for improving nearly any soil type, from dense clay to sandy, fast-draining ground.
Composting also pairs naturally with other sustainable gardening practices. If you're curious how to build a full growing system, see our complete beginner's guide to starting a garden. And if you grow in pots or raised beds, container gardening strategies show how to incorporate compost effectively in smaller setups.
Compost bin or designated area
Holds materials in place, retains moisture, and contains the composting process.
Garden fork or compost turner
Used to aerate and mix the pile, which accelerates decomposition.
Small countertop collection container
Gathers kitchen scraps conveniently before transferring them to the outdoor bin.
Moisture meter or spray bottle
Helps you monitor and adjust moisture levels within the pile.
Setting Up and Running Your Compost System
Getting started requires almost no investment. What matters most is choosing a method that fits your space and sticking with basic maintenance habits. Once your system is running, it largely takes care of itself - you're simply managing the conditions that let microbes, fungi, and invertebrates do the work.
What you will need
Avoid These Materials in Your Pile
Never add meat, fish, bones, dairy products, or oily cooked foods to a standard home compost bin. These materials attract pests, create foul odors, and can introduce pathogens. Diseased plant material and pet waste should also be kept out, as home compost piles typically do not reach temperatures high enough to safely neutralize harmful organisms.
Choose your composting method
Decide which system fits your space. Outdoor bins or a simple enclosed pile in a corner of your yard work well for most homeowners. Those with very limited space can use a worm bin (vermicomposting), which works indoors and produces exceptionally rich castings. Tumbler-style bins speed up decomposition and deter pests, making them a practical option for suburban yards.
Gather your brown and green materials
Compost depends on a balance of two types of material. Greens (nitrogen-rich) include fruit and vegetable scraps, coffee grounds, tea bags, and fresh grass clippings. Browns (carbon-rich) include dried leaves, cardboard, newspaper, and straw. A general guideline is roughly 2-3 parts browns to 1 part greens by volume, though you can adjust based on how the pile smells and decomposes.
Layer and build the pile
Start with a 3-4 inch layer of coarse browns like twigs or straw at the base to allow airflow from below. Alternate layers of greens and browns as you add material. There is no need to be precise - the goal is variety and balance rather than perfect layering. Aim to build a pile at least 3 feet wide and 3 feet tall, which generates enough internal heat to speed decomposition.
Maintain moisture and airflow
Check your pile every week or two. It should feel like a damp sponge throughout. If it's too dry, add water and mix in more greens. If it's soggy or smells bad, add dry browns and turn the pile. Turning - using a fork to lift and mix material from the outer edges into the center - introduces oxygen, which is essential for aerobic (good-smelling) decomposition.
Know when compost is ready
Finished compost looks and smells like rich, dark earth - not like the original materials. It should be crumbly, uniform in texture, and carry a pleasant earthy scent. Depending on your method and maintenance, this can take anywhere from 2 months to a year. You can use partially finished compost as a mulch layer, allowing it to continue breaking down in place.
Apply finished compost to your garden
Work 1-3 inches of finished compost into the top layer of garden beds before planting, or side-dress established plants by spreading a thin layer around the base without touching stems. Compost improves soil texture, feeds beneficial microbes, and helps retain moisture - benefits that build cumulatively over multiple growing seasons. For container plants, blend compost with potting mix rather than using it alone.
Speed Things Up With a Smaller Chop
Cutting or shredding materials into smaller pieces significantly increases the surface area available to decomposing microbes. Chopping vegetable scraps, tearing cardboard into strips, and running a lawnmower over fallen leaves can reduce your composting timeline from months to weeks.
Watch Moisture Levels Closely
A pile that is too wet will become compacted and anaerobic, producing a foul smell rather than rich compost. Aim for the consistency of a wrung-out sponge - damp but not dripping. If your pile smells like ammonia or rotten eggs, add dry brown materials and turn it to restore airflow.
Once your compost is ready, it works beautifully alongside other soil-improvement strategies. Mulch and compost together form a powerful combination: compost feeds the soil while mulch protects the surface and slows moisture loss. You might also find that a well-composted bed creates ideal conditions for companion planting arrangements, where plant diversity and healthy soil work together to reduce pest pressure and boost yields.

Author
Home & Garden Editorial Team
Home & Garden Editorial Team is the collective byline for our editorial team and contributor network. Articles published under this byline or an editorial pen name are researched, written, and reviewed according to our editorial standards for clarity, consistency, and independence before publication.
View all articles →