
Painting Interior Walls Without the Mess and Regret
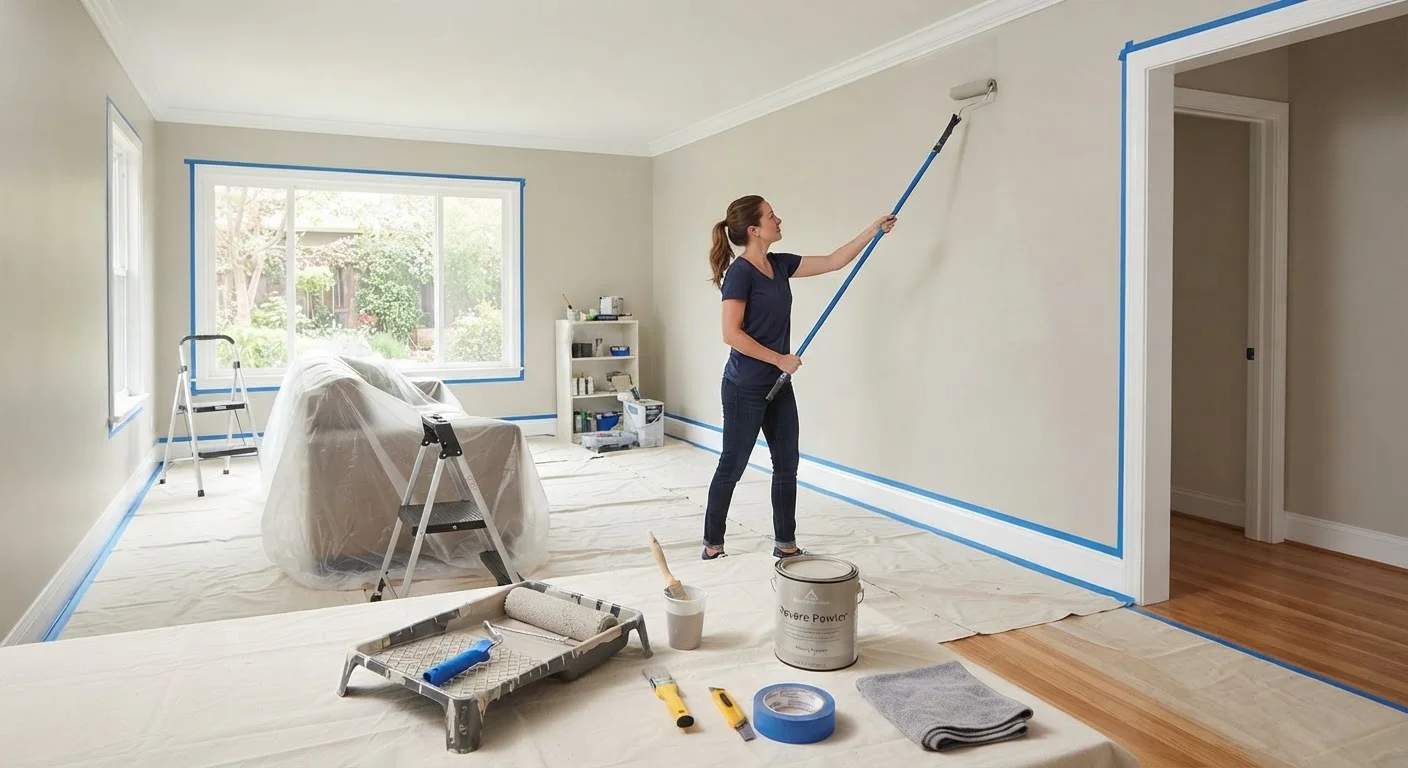
Photo credit: SearchLynk.net | Search Made Easier
In this article
Proven preparation steps, application techniques, and drying considerations that separate a lasting paint job from one that peels.
Key Takeaways
- Thorough surface preparation - cleaning, patching, and priming - determines how long a paint job lasts.
- Applying paint in thin, even coats prevents drips, lap marks, and uneven sheen.
- Choosing the right finish for each room type is as important as choosing the right color.
- Adequate drying time between coats prevents peeling and poor adhesion.
- Protecting floors and trim before you open the can saves significant cleanup effort.
Why Most Paint Jobs Fail Before the First Coat Goes On
The most common reason a DIY paint job looks disappointing or fails early has nothing to do with technique during application - it's everything that happens (or doesn't happen) before the brush touches the wall. Skipping surface prep is the single biggest mistake homeowners make, and it's largely invisible until the paint starts to peel, bubble, or show every imperfection beneath it.
Before you paint, inspect walls for cracks, nail holes, and dents. Fill them with spackling compound, let it dry fully, then sand smooth with 120-grit sandpaper. Wipe down walls with a damp cloth or mild cleaning solution to remove dust, grease, and residue - especially in kitchens and hallways. Any glossy surfaces should be lightly sanded so the new paint has something to grip. If you're covering a dark color, significant stain, or raw drywall, apply a coat of primer first. Primer isn't optional in those situations; it seals the surface, improves adhesion, and gives you truer color with fewer finish coats. For help understanding what else to inspect before any renovation begins, see our room-by-room condition assessment.
Setting Up the Room: Protecting What You're Not Painting
A messy paint job is usually the result of rushed setup. Taking 20 minutes to protect your space properly prevents hours of cleanup later.
Lay drop cloths across the entire floor, not just directly below the wall you're painting.
Paint spatters travel farther than most people expect, especially when rolling. A drop cloth that only covers a narrow strip will leave spots on exposed flooring that are difficult to remove once dry.
Apply painter's tape to all trim, outlet covers, and ceiling edges before opening the paint can.
Taping in advance ensures straight, clean lines and saves you from cutting in freehand - a skill that takes real practice to do well. It also forces you to slow down and notice any areas needing extra prep.
Remove outlet and switch plate covers rather than taping around them.
Taping around electrical covers is tedious and rarely produces a clean result. Removing covers takes seconds with a single screwdriver and gives you a professional edge with no masking required.
Move furniture to the room's center and cover it with plastic sheeting.
Painting around furniture forces awkward angles and rushed strokes, producing uneven coverage near walls. Central staging also gives you full access to baseboards and lower wall sections.
Not sure which finish to use in each space? Our guide on paint finish types and where each one belongs breaks down the differences clearly.
Application Technique: Laying Paint Without Lap Marks
Even with perfect prep, poor application technique produces streaks, visible roller marks, and uneven coverage. The key principle is working systematically and keeping a wet edge.
Start by cutting in - using a 2-inch angled brush to paint a 2-3 inch band along ceiling lines, corners, and trim. Then fill in the broad wall surfaces with a roller, overlapping slightly into the cut-in area while the brush work is still wet. Roll in a "W" or "M" pattern, then smooth with vertical strokes without lifting the roller mid-stroke. Apply two thin coats rather than one thick one. A thick coat sags, takes longer to dry, and often shows more texture variation than two controlled thin passes. For first-time DIYers wanting more context on project scope, our first-timer's guide to DIY home improvement covers realistic expectations.
Humidity and Temperature Affect Drying Time
Latex paint performs best when applied in temperatures between 50°F and 85°F with moderate humidity. High humidity slows evaporation and extends drying time considerably; cold temperatures can cause paint to thicken, apply unevenly, and fail to cure properly. If your space is outside these ranges, consider waiting for better conditions or running a dehumidifier in summer and keeping heat on in cooler months.
Drying, Second Coats, and Knowing When You're Done
Patience at the drying stage is non-negotiable. Most latex paints feel dry to the touch within an hour, but that's surface drying - not cure. Applying a second coat too soon traps solvents, causes the finish to peel, and can lift the first coat right off the wall.
Wait the full recoat time listed on the paint can - typically two to four hours for latex, longer in humid or cold conditions. Once the second coat is fully dry, remove painter's tape by pulling it back at a 45-degree angle slowly. Pulling too fast or waiting too long after the paint dries hard can cause the tape to pull off paint with it. Step back and check your work under natural light and at an angle - raking light reveals missed spots and texture inconsistencies that flat overhead lighting hides. Touch up with a small brush as needed. Most latex paints reach full hardness (cure) in 30 days, so avoid scrubbing walls or hanging heavy items before then. If you find yourself second-guessing common renovation assumptions, our renovation myths guide addresses several that apply directly to painting.
30 days
Full cure time for most latex paints
Most latex paint manufacturers indicate full hardness and washability is reached approximately 30 days after application, even if the surface feels dry within hours.
80%
Of paint failures traced to poor surface prep
Industry painters and finishing professionals commonly attribute the large majority of premature paint failures - including peeling and bubbling - to inadequate surface preparation before application.

Author
Home & Garden Editorial Team
Home & Garden Editorial Team is the collective byline for our editorial team and contributor network. Articles published under this byline or an editorial pen name are researched, written, and reviewed according to our editorial standards for clarity, consistency, and independence before publication.
View all articles →