
Why Grout Cracks - and What to Do About It
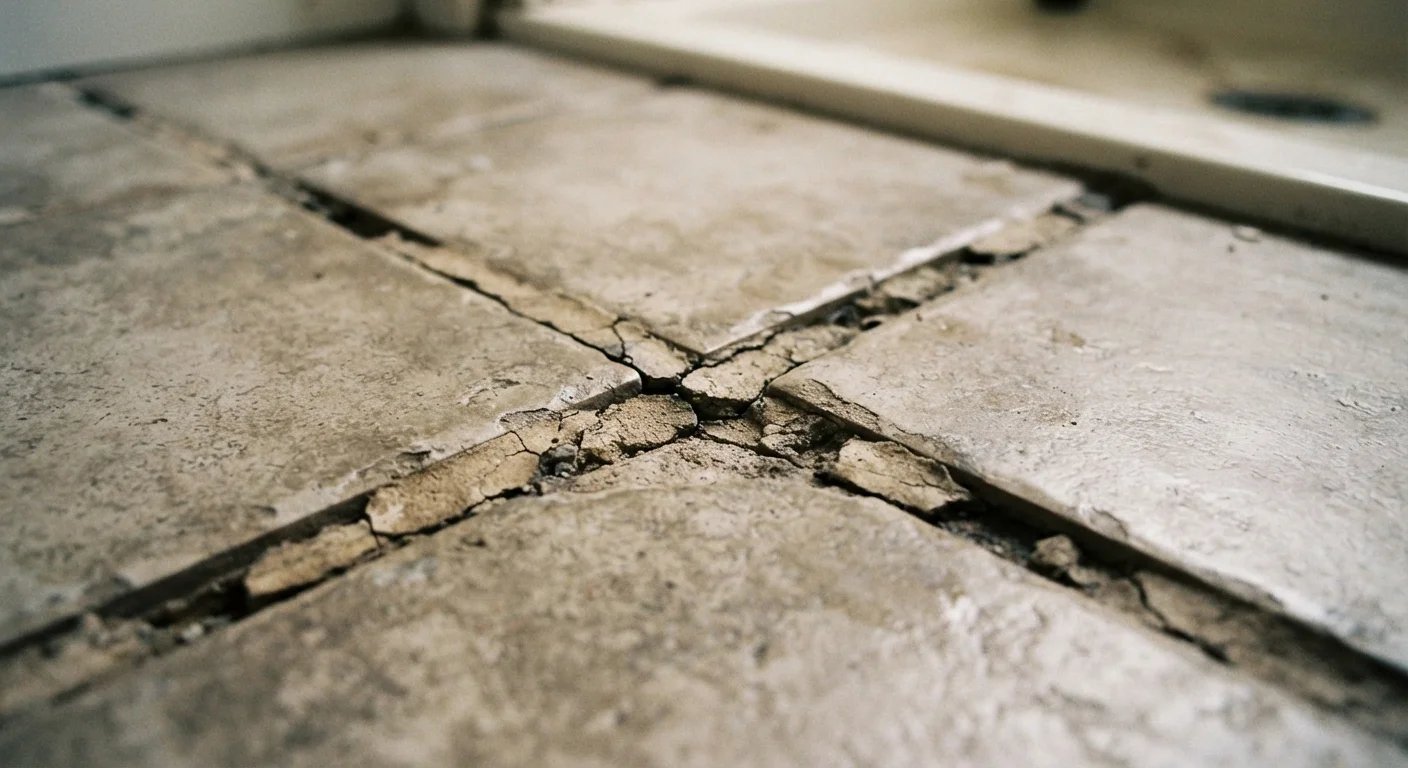
Photo credit: SearchLynk.net | Search Made Easier
In this article
Cracked grout isn't always a sign of poor workmanship. Understand the structural and environmental reasons behind it.
Key Takeaways
- Grout cracks from structural movement, moisture cycling, and installation errors - not always poor workmanship.
- Using the wrong grout type for the application is one of the most preventable causes of early cracking.
- Small cracks should be addressed promptly to prevent water infiltration and deeper tile damage.
- Proper surface preparation and curing time are essential for long-lasting grout joints.
- Matching the original grout color and type before regrouting produces the most durable, cohesive repair.
Why Grout Cracks in the First Place
Grout is a rigid, cement-based material - and rigidity is both its strength and its vulnerability. When the surfaces it joins shift, expand, or contract due to temperature changes, humidity, settling, or subfloor flex, grout absorbs the stress and eventually fractures. This is entirely normal behavior in many cases, not evidence of a failed installation.
That said, premature or widespread cracking is almost always the result of avoidable errors made during installation. Understanding those root causes is the first step to making repairs that actually last.
1/8"
Minimum grout removal depth for effective repair
Tile industry installation guidelines generally recommend removing damaged grout to at least this depth before regrouting to ensure adequate bond strength.
8-12 ft
Recommended spacing for movement joints in tiled floors
The Tile Council of North America's installation guidelines suggest movement joints at these intervals in large interior tile installations to accommodate material expansion.
The sections below walk through the most common mistakes that lead to grout failure, and - more importantly - what to do instead.
Common Mistakes That Lead to Cracked Grout
These errors appear across DIY projects and professional installations alike. Each one is preventable with the right knowledge before you start.
Using the wrong grout type for the tile size or location.
Why it happens: Many homeowners or even less experienced installers choose grout based on color alone, without considering whether unsanded, sanded, or epoxy grout is appropriate for the joint width and environment.
Not allowing the tile adhesive (mortar) to fully cure before grouting.
Why it happens: Impatience or misunderstanding of the curing process leads installers to grout too soon, before the mortar bed has hardened completely.
Mixing grout with too much water.
Why it happens: A wetter grout mix is easier to spread and work with, so it's a common shortcut, especially for beginners.
Skipping movement joints (expansion joints) in large tiled areas.
Why it happens: Movement joints - soft, flexible gaps filled with caulk rather than grout - are frequently omitted because they require extra planning or are seen as unnecessary.
Regrouting over cracked grout without removing the damaged material first.
Why it happens: Applying fresh grout on top of cracked grout seems like a quick fix, but the new layer has nothing solid to bond to.
How to Repair Cracked Grout the Right Way
Once you've identified the cause of the cracking, the repair process is straightforward for most homeowners to handle independently.
Widespread Cracking May Signal Structural Issues
If grout is cracking in a consistent pattern across a large area - especially along grout lines that run in one direction - it may indicate subfloor movement, settling, or a structural concern beneath the tile. In these cases, simply regrouting will not solve the problem. Consult a licensed contractor or structural professional before proceeding with any repair.
- Remove damaged grout: Use a grout saw or oscillating multi-tool to clear out cracked or crumbling grout. Work carefully to avoid chipping tile edges.
- Clean the joint: Vacuum out dust and wipe the joint with a damp cloth. Allow it to dry completely before proceeding.
- Match your grout: Take a photo and a small sample to a tile or home improvement store to match the color and type as closely as possible. Grout that has been in place will have lightened or darkened with age - factor that in.
- Mix and apply: Follow the manufacturer's mixing ratio exactly. Press grout firmly into the joint with a rubber float, working diagonally across the joint lines. Remove excess promptly.
- Cure and seal: Allow the grout to cure fully per the manufacturer's instructions. In wet areas, apply a penetrating grout sealer once cured to resist moisture infiltration going forward.
Don't Ignore Cracked Grout Near Water Sources
In showers, around tubs, or near sinks, cracked grout allows water to penetrate the substrate - the layer beneath your tile. Over time, this leads to mold growth, wood rot, or loosened tiles that become a safety hazard. Even a hairline crack in a wet area warrants prompt attention.
For small, isolated cracks in dry areas, this process is well within reach for most homeowners. Larger repairs, or any situation involving cracking that reappears after a correct repair, should be evaluated by a tile professional.

Author
Home & Garden Editorial Team
Home & Garden Editorial Team is the collective byline for our editorial team and contributor network. Articles published under this byline or an editorial pen name are researched, written, and reviewed according to our editorial standards for clarity, consistency, and independence before publication.
View all articles →